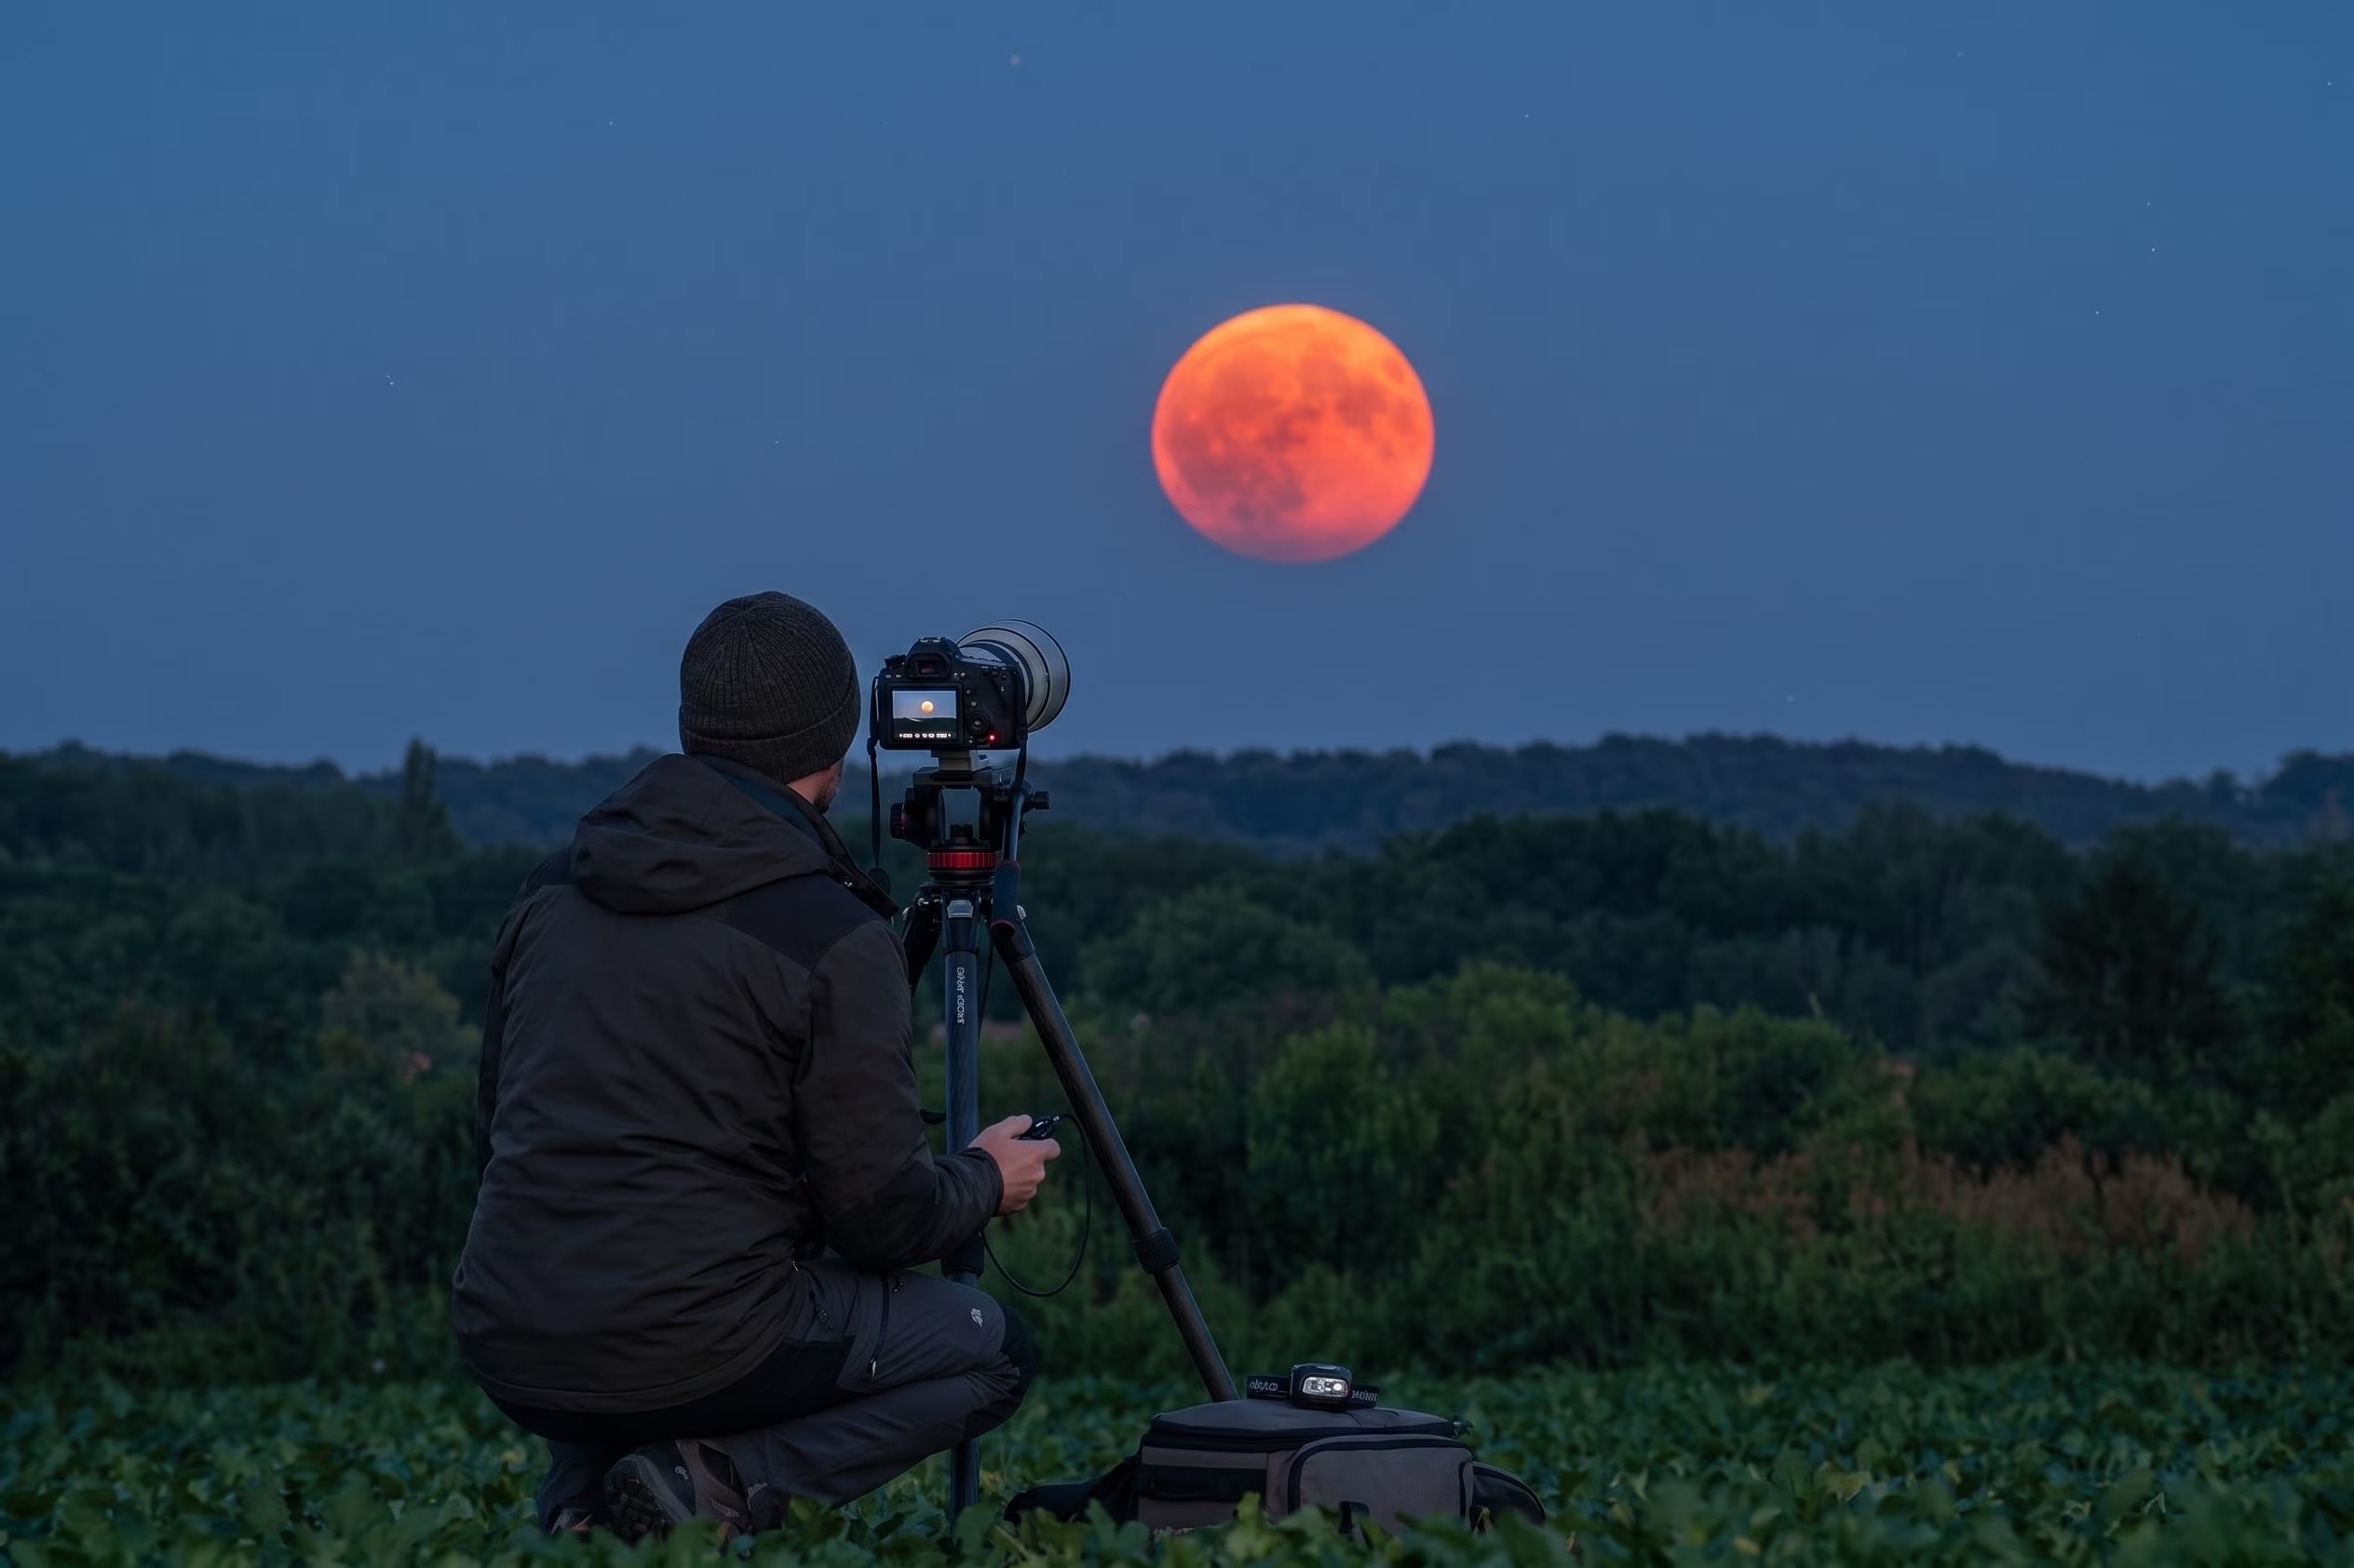
Photographing a lunar eclipse can be a truly exciting experience, but it presents a small technical pitfall that can compromise the quality of the shots. We are referring to the fact that during the astronomical event the brightness of the Moon changes as it immerses itself in the Earth’s shadow. When our satellite passes through the darkest shadow zone and sunlight is filtered by Earth’s atmosphere giving it a striking coppery hue, a single set of settings may not be enough. To take home memorable shots with the tools we already have at home, such as the smartphone or digital camera, we will need to adapt the technique to the various phases of the event.
Before practically seeing how to photograph the red Moon eclipse, let’s remember that this particular astronomical event will consist of a partial eclipse and will be visible before dawn on Friday 28 August 2026: it will start around 04:34, reaching approximately 96% obscuration of the Moon around 06:13. Unlike the solar eclipse, it will be possible to observe it with the naked eye, without protective glasses, in absolute safety: the Moon only reflects the light of the Sun. Since our natural satellite will be close to setting while it is still eclipsed, to fully enjoy the phenomenon it is advisable to position yourself in a point where the horizon is free from obstacles towards the west.
How to photograph the red lunar eclipse with your smartphone
If you want to use your smartphone to capture the Red Moon, take into account that this device is at its best when taking wide-ranging photos, setting the Red Moon within the landscape, for example above the profile of a city or reflected on a body of water. This is because with a smartphone it is not possible to take shots of such quality as to be able to optimally distinguish the craters and other details of the lunar surface. This is especially true if you have a cheap model, equipped only with digital zoom (or an optical zoom that is not sufficiently advanced): in this case maximizing the image as much as possible is counterproductive. This is because using digital zoom simply enlarges the pixels without adding real details, resulting in a grainy image.
In addition to not using the digital zoom, it is important to pay attention to other small precautions, such as deactivating the flash, placing the phone on a tripod or, in any case, on a stable support surface. Once this is done, during the initial phases, when the Moon is still bright in the sky, you need to manually lower the exposure (usually you can do this by touching the screen and dragging the slider downwards), so as to prevent the lunar disk from turning into a white or pink spot devoid of shape and details. When the Moon enters the shadow and passes to the most interesting phase of the eclipse, therefore when it becomes dark and reddish, it will be necessary to gradually increase the exposure to collect more light, taking care to keep the phone perfectly still to avoid micro-blur. In short, to bring home a good shot you need to do some testing and work a little.
Images with camera, reflex or mirrorless: the use of a tripod
If, however, you have a camera, for example a reflex or mirrorless camera with a telephoto lens, you can aim for decidedly more interesting photos. Especially if you have a lens that has a focal length of 200mm or more. Since the Earth rotates and the Moon appears to move across the sky at an apparent speed of about 15 degrees per hour, the use of a tripod becomes mandatory. To avoid vibrations caused by pressing your finger on the shutter release button, we recommend setting the camera’s self-timer or using a wired or wireless remote control.
Moving on to the camera setup, set the manual mode and shoot in RAW format. If you are not new to photography, you will already know that setting this format allows you to obtain “raw” shots, which retain all the information captured by the sensor without applying compression, facilitating subsequent post-production of the photos. This means that, if you make some mistakes during shooting, it will be more feasible to recover in post-production by playing for example with shadows, exposure, and other basic parameters. In addition to these precautions, we suggest you keep the ISO low (around 100), close the aperture to f/8 and set a fast shutter speed, approximately 1/250 second.
When the eclipse reaches its deepest phase, the light goes down and this is where you need to act on some shooting parameters that will allow you to take home beautiful photos. At this stage, for example, it may be time to open the aperture as wide as possible with the lens in use. Raising the ISO values between 800 and 1600 and lengthening the shutter speed can also help capture more light and, therefore, more details. But as far as shutter speeds are concerned, it’s best not to overdo it: without a motorized mount that tracks the movement of celestial bodies, try not to exceed the time limit of 1/4 of a second (or even less, where possible), otherwise you’ll see the bright points transform into small trails of light due to the earth’s rotation. In any case, consider these shooting settings as generic references: it is likely that in the field you will have to make some changes to create a fully enjoyable photo.
A critical issue you may encounter concerns focusing. Keep in mind that autofocus can fail when trying to take photos of astronomical events of this type. To overcome this problem, the secret is to manually focus on the Moon at the beginning of the event: activate the live preview (Live View), magnify the edge of the Moon or an obvious crater as much as possible, and adjust the ring until you obtain the maximum possible sharpness. At that point, lock the manual focus and don’t touch it again.